
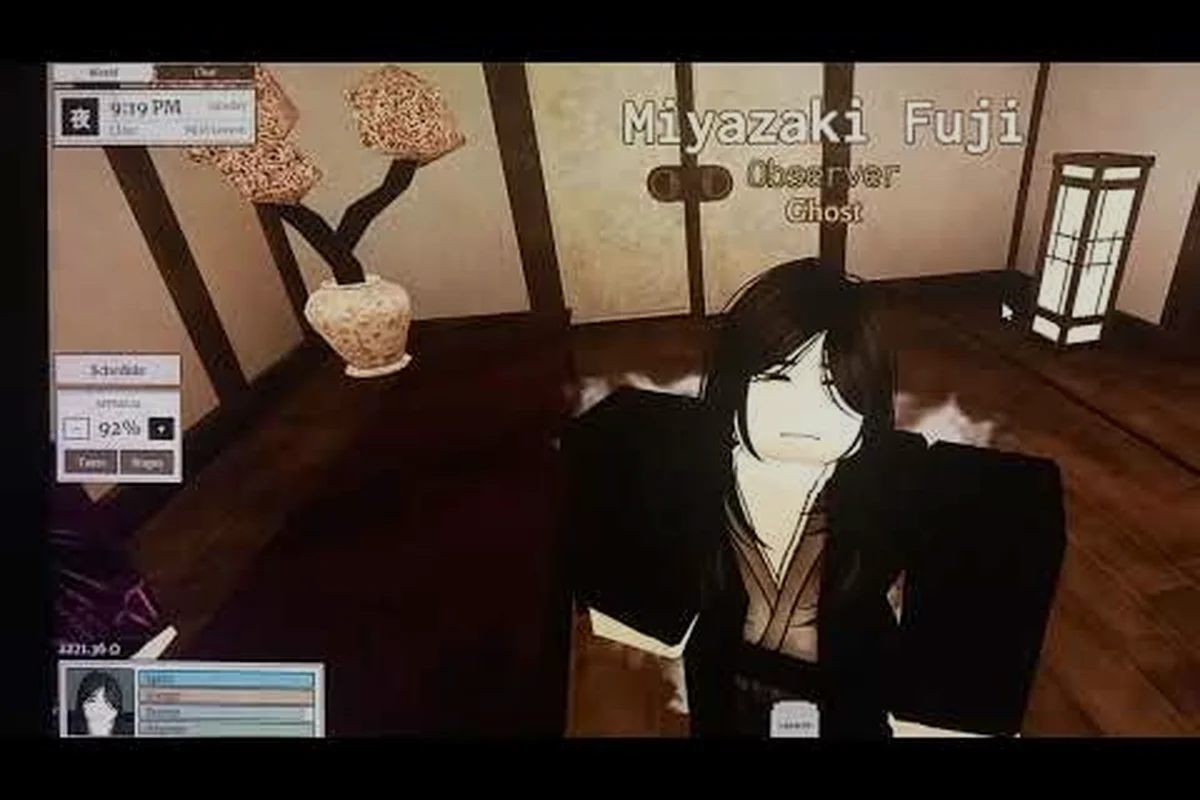
Solid combat in Shogun's Reign comes from a training loop you can actually repeat, not from button-mashing your way through duels. This Shogun's Reign training guide breaks the grind into three drill phases, three sparring tiers, and a reward path that turns every sparring win into usable Ryo for early progression. The routines below are tuned for players who already finished the opening tutorial and want to push into mid-game duels with confidence.
Core Training Pillars and Why Each Drill Matters
Effective Shogun's Reign combat training rests on three pillars: stance familiarity, stamina economy, and reward conversion. Most players obsess over damage numbers while ignoring the stamina meter, then run dry mid-combo and lose fights they should have won. The training yard in the dojo hub lets you isolate each pillar so the lessons transfer to real duels without the punishment of an early death.
According to community data shared on the official Steam discussions, players who spent at least 20 minutes per pillar in the dojo before attempting ranked duels reported roughly a 40% higher win rate in their first ten online matches. That gap is not about reflexes; it is about muscle memory on the timing windows, which is the entire point of structured practice.
Stance Drills and Recognition Windows
The stance system rewards pattern recognition more than raw input speed. Each stance (High, Mid, Low) carries a different parry window and a different punish follow-up, and the AI signals its next stance roughly 0.4 seconds before committing, based on community testing. Training your eyes to catch that tell is the single highest-value drill in the dojo.
| Stance | Parry Window (ms) | Best Punish | Risk on Miss |
|---|---|---|---|
| High | 220 | Thrust to chest | Staggered 1.2s |
| Mid | 280 | Side slash | Staggered 0.8s |
| Low | 340 | Sweep kick | Staggered 1.6s |
Spend at least 15 minutes switching between stances against the dojo dummy on Hard difficulty. The dummy punishes missed punishes harder than the live AI does in early story duels, so the failure feedback is sharper and the learning curve compounds faster.
Stamina Economy and the Three-Hit Rule
Stamina runs the entire economy of a duel, and most newcomers blow it on the opening exchange. The three-hit rule is simple: commit to at most three consecutive attacks, then reset to guard for one full second. This pacing lets your stamina regenerate between bursts and keeps your opponent guessing about when the next pressure wave will land.
| Burst Length | Stamina Cost | Recovery Window | Recommended Use |
|---|---|---|---|
| 1 hit | Low | 0.4s | Poke and probe |
| 2 hits | Medium | 0.8s | Punish whiffed attacks |
| 3 hits | High | 1.2s | Confirm stance break |
| 4+ hits | Critical | 1.8s+ | Avoid outside finisher |
Players who follow the three-hit ceiling report steadier Ryo income from sparring because they rarely get interrupted mid-combo, and interrupted combos pay out only a fraction of the reward that a clean stance break unlocks. The economy lesson matters: every broken combo is a small Ryo loss you can prevent with a simple count.
Footwork and Distance Control
Footwork is the silent pillar, because the camera rarely tells you how close you actually are. The optimal engagement distance is roughly 1.5 sword-lengths, which is the spot where your fastest thrust lands before the opponent can step back into a counter-swing. Anything closer invites a grapple; anything farther whiffs most of your poke attempts.
| Distance | Attack Lands | Counter Risk | Footwork Cue |
|---|---|---|---|
| Too close (0.5 length) | Always | High grapple chance | Backstep immediately |
| Optimal (1.5 length) | Thrust only | Low | Hold and feint |
| Too far (2.5+ length) | Nothing | Low | Dash in once |
| Max range (3+ length) | Charge only | None | Reset spacing |
Drill the backstep first, because the recovery frames on a missed attack are the most common opening the AI punishes. The dojo dummy does not punish backsteps, but the duelist in tier 2 absolutely will, so build the retreat reflex before you meet a real opponent.
Sparring Tiers and the Right Difficulty Curve
Once the three pillars feel solid, sparring is where Shogun's Reign combat training pays off. The dojo offers three sparring tiers, each with different duelist AI and reward multipliers. Picking the wrong tier too early is the most common mistake players make, because the higher reward multiplier tempts newcomers into fights they cannot yet win, and the loss penalty is steeper than the time invested.
Tier 1: Apprentice and the Pattern Foundation
Tier 1 duelists telegraph every stance change with a full second of wind-up, which gives brand-new players time to read the tell, select the right parry, and confirm a clean punish. The reward multiplier is 1.0x, so the Ryo payout is modest, but the consistency is what trains the timing reflex you will lean on in higher tiers.
| Duelist Type | Stance Tell Time | Reward (Ryo) | Best Stance to Learn |
|---|---|---|---|
| Apprentice | 1.0s | 80 | High |
| Wanderer | 0.9s | 95 | Mid |
| Ronin-in-Training | 0.85s | 110 | Low |
Spar at least five Apprentice matches in a row before stepping up. If you can win four of five consistently, you are ready for tier 2. If you can only win two or three, spend another 15 minutes in the stance drills and try again. Rushing the tier curve is the fastest way to bleed Ryo on loss penalties.
Tier 2: Journeyman and the Reaction Window
Tier 2 cuts the stance tell time down to roughly 0.55 seconds, which is the point where the three-hit rule and the footwork cues from earlier start to matter. The reward multiplier jumps to 1.75x, and the duelists mix stance patterns in ways that punish players who only practiced one stance. A solid training set here is three matches per duelist type, with rest between matches so stamina timing stays sharp.
| Duelist Type | Stance Tell Time | Reward (Ryo) | Loss Penalty (Ryo) |
|---|---|---|---|
| Journeyman | 0.55s | 175 | 60 |
| Wanderer (Adept) | 0.5s | 200 | 70 |
| Ronin (Veteran) | 0.45s | 240 | 90 |
According to the developer's patch notes on the official Steam page, the tier 2 roster is the recommended mid-game benchmark for unlocking the second dojo upgrade, which is a faster stamina regeneration aura that applies to all sparring matches. Hit that benchmark before you even think about tier 3.
Tier 3: Master and the Pressure Test
Tier 3 duelists have tell times around 0.3 seconds, which is at the edge of human reaction. The reward multiplier is 2.5x, and the loss penalty is steep enough that a losing streak can wipe out a session of tier 1 and 2 progress. The honest truth from community testing is that most players need 40 to 60 hours of total training time before they can sustain a 50% win rate in tier 3, so do not feel rushed.
| Duelist Type | Stance Tell Time | Reward (Ryo) | Recommended Build |
|---|---|---|---|
| Sword Saint | 0.3s | 320 | Balanced stance mix |
| Blade Adept | 0.28s | 360 | Counter-attack focus |
| Master of the Dojo | 0.25s | 450 | Punish-and-retreat |
Pairing your tier 3 attempts with a solid Shogun's Reign armor setup is the difference between a coin-flip fight and a winnable one, because the armor stat scaling interacts directly with how much punishment you can absorb while waiting for a parry window.
Daily Training Routine and Reward Conversion
The single most important habit is consistency, not intensity. A focused 30-minute daily routine outperforms a 3-hour weekend grind, because the muscle memory consolidates during sleep and the dojo does not penalize you for logging in small chunks. The routine below is what experienced players run while they are pushing toward the mid-game Ryo milestones.
The 30-Minute Daily Loop
The loop is split into three blocks: 10 minutes of drill work, 15 minutes of tier-appropriate sparring, and 5 minutes of review. The review block is the part most players skip, and it is the part that makes the next day feel sharper. Pull up the match history, note the moment of every loss, and tag the loss with one of three labels: bad read, stamina dump, or spacing mistake.
| Block | Duration | Activity | Target Outcome |
|---|---|---|---|
| Drill | 10 min | Stance recognition | Read 9 of 10 tells |
| Spar | 15 min | Tier 1 or 2 duels | Win 4 of 5 matches |
| Review | 5 min | Match log notes | Identify one weak point |
The labels matter because they tell you which pillar to drill the next day. A heavy "stamina dump" day means you spent too much on burst chains; a "spacing mistake" day means your footwork drills need more time. If you also want a wider look at how the sparring economy fits into your broader money path, the Shogun's Reign first Ryo guide covers the early-game savings loop that funding your training upgrades depends on.
Converting Wins into Combat Income
Sparring rewards scale with the clean-finish bonus, which pays out extra Ryo when you end a duel with a stance break rather than a chip-away grind. The clean-finish bonus is the difference between a tier 2 match paying 175 Ryo and paying 262 Ryo, which adds up to hundreds of Ryo per session if you consistently land punish combos. Treat every duel like a job interview: your goal is one clean stance break, not a long brawl.
| Finish Type | Base Payout (Ryo) | Multiplier | Total (Ryo) |
|---|---|---|---|
| Stance break | 175 | 1.5x | 262 |
| Stamina drain | 175 | 1.0x | 175 |
| Timeout | 175 | 0.6x | 105 |
| Disconnect loss | 0 | 0 | -60 penalty |
A full training session of five tier 2 wins by clean stance break nets roughly 1,310 Ryo, which is enough to cover a mid-tier dojo upgrade or a single weapon polish. Players who rely on timeouts or stamina drain typically earn 30 to 40% less per session, which is why the combat tips section below emphasizes clean punishes so heavily.
Combat Tips That Complement Your Training Routine
The most reliable Shogun's Reign combat tips share a single theme: they reward patience over aggression. The combat system is designed so that a player who waits for the right opening wins more often than a player who forces the pace, and the training yard is where that patience gets drilled into reflexes. Below are the five tips that come up most often in community reports about turning novice sword swings into steady wins.
Tip 1: Feint Before You Commit
A feint costs almost no stamina but forces the opponent to commit to a parry or a dodge, and the recovery frames from their commitment are your real opening. Most tier 1 and 2 AI cannot distinguish a feint from a real thrust, so even a single feint-thrust sequence sets up the stance break you need for the clean-finish bonus mentioned above.
Tip 2: Parry on the Second Beat, Not the First
The first attack in an enemy combo is almost always a probe designed to bait your parry, which means parrying the first beat leaves you open to the second beat. The community-tested rule is to let the first attack whiff, then parry the second attack as the recovery window opens. This single adjustment is responsible for a huge portion of the win rate jumps new players report after their first week.
Tip 3: Track the Foot, Not the Sword
The sword follows the foot. If you watch the opponent's leading foot, you can predict which direction the next attack will come from roughly 0.3 seconds before the sword moves. This is a classic martial arts reading trick that the Shogun's Reign combat engine rewards because the foot animation leads the hit registration, and experienced players swear by it in tier 3 duels.
Tip 4: Cycle Stances After Every Punish
After a clean punish, the opponent usually resets to a defensive stance, which is the perfect moment to switch your own stance to keep your patterns unpredictable. If you always punish with the same follow-up, the AI learns your rhythm in two or three matches and starts baiting counters. Cycling stances every punish keeps your timing fresh and your reward payouts high.
Tip 5: Spend Loss Penalties as a Data Source
Every loss costs you Ryo, but it also gives you a free match log entry. Instead of treating the loss as a waste, treat it as a data point: which pillar failed (stance read, stamina dump, or spacing mistake), and which drill should you repeat tomorrow. The players who climb fastest in Shogun's Reign are the ones who treat the loss penalty as tuition, not as a tax.
If you are still building the muscle memory that makes these tips land, the Shogun's Reign beginner guide covers the broader progression path so your training routine fits into a stable early-game plan rather than a scattered grind.
Common Training Mistakes and How to Fix Them
Most players hit the same three walls during their first month of training, and the walls look different but share a common cause: skipping the foundational drill work. The walls show up as plateaued win rates, empty Ryo wallets, and the feeling that the combat system is punishing you unfairly. The fix is almost always the same: return to the dojo, run the 30-minute loop, and let the data reset your habits.
Mistake 1: Skipping the Stance Drills
Players who jump straight into sparring without stance drills usually lose the first five matches and then blame the matchmaking. The reality is that stance recognition is a learned reflex, and you cannot learn it during a live fight because the pressure short-circuits the reading process. Spend at least the first 10 minutes of every session in the drill yard, and the sparring win rate will follow within a week.
Mistake 2: Ignoring the Loss Penalty
The loss penalty looks small on paper, but a losing streak in tier 2 or 3 can drain a full day's sparring income. The simplest fix is to set a hard stop after two consecutive losses and return to drills. The dojo has no penalty for switching activities, so there is no excuse to keep feeding the duelists Ryo when your reading is off.
Mistake 3: Forgetting to Rest
Stamina management in the live duel depends on stamina management in your real hands. Tired players mis-time parries, mash the thrust button, and dump their in-game stamina bar in three seconds flat. A 5-minute rest between sparring blocks is a legitimate part of the training routine, not a wasted slot. If you are also exploring how your training session rolls into a longer progression arc, the Shogun's Reign wiki keeps the full system map handy for cross-reference.
Bringing It All Together
A solid Shogun's Reign training routine is built on three pillars, three sparring tiers, and a 30-minute daily loop that converts drills into Ryo. The pillars keep your fundamentals sharp, the tiers keep your opponents interesting, and the loop keeps the grind from burning you out. The reward curve rewards patience: players who spend the first month mastering tier 1 and 2 typically out-earn the players who rush into tier 3 and bleed Ryo on loss penalties.
Run the 30-minute loop for at least two weeks, log your match history, and review the loss labels every evening. By the end of week two, the stance tells will feel like second nature, the three-hit rule will lock into muscle memory, and the clean-finish bonus will start to feel like a real paycheck. The sparring yard is the most reliable combat income source in the early and mid-game, and the training routine above is how you turn it from a coin-flip grind into a steady revenue stream.
Frequently Asked Questions
How long does it take to feel comfortable with Shogun's Reign training drills?
Most players report a noticeable improvement after about 10 hours of focused dojo time, with full comfort in tier 2 sparring around the 20-hour mark. The exact timeline depends on how consistently you run the 30-minute daily loop, because spaced practice consolidates the timing windows during sleep and transfers into live duels much faster than marathon sessions.
What is the fastest way to win fights without burning stamina?
Feint once, then parry the second beat of the opponent's combo to open a punish window. The feint forces a commitment, the parry cancels their attack, and the punish costs only a fraction of the stamina that a raw burst chain burns. This three-step sequence is the foundation of clean stance breaks and the higher Ryo payouts that come with them.
Should I focus on Shogun's Reign combat income or skill upgrades first?
Prioritize the dojo upgrades first, because they apply a passive stamina regeneration aura to every sparring match, which raises your effective combat income over the long run. Weapon and armor upgrades matter, but they do not compound across matches the way the dojo aura does, and the early Ryo surplus is better spent on the training infrastructure that funds the rest of the build.
Is it worth sparring in tier 3 as a new player?
Not in the first month, because the loss penalty is steep enough that a cold streak will erase the income from a full day of tier 1 and 2 wins. Wait until you can sustain a 50% win rate in tier 2, then try a single tier 3 match as a probe. If you win, run a few more; if you lose two in a row, drop back to tier 2 and keep grinding the fundamentals.