
The Shogun's Reign wiki you keep bookmarking only works when it answers the exact question you opened the tab for, so this guide distills the spawn-hub survival checklist, the four roleplay pillars, and the early-ryo economy loop into one place. New players usually bounce between three or four Reddit threads before they find the combined answer, and that is exactly the gap this page closes. By the end of the read you will know which systems to interact with first, which menus to ignore until level ten, and where the early money leaks are hiding in plain sight.
What the Shogun's Reign Wiki Actually Covers
The Shogun's Reign wiki is a community-maintained reference, not an official handbook, and that distinction matters because the in-game menus only describe what each button does, not how the systems interact. Players who treat the wiki as a quick lookup table for a single mechanic usually walk away with a working knowledge of two or three features and a stubborn blind spot about the rest. A proper reading pass starts with the framework, then drills into each pillar.
The Four Roleplay Pillars at a Glance
Every account in the game is built on four independent pillars, and ignoring any one of them caps the ceiling on the other three. Most starter content focuses on Combat because the tutorial forces it on you, but Combat alone will not bankroll the weapons it demands, so the other three pillars are mandatory long before the meta content opens up.
| Pillar | Core Resource | Primary Sink | Starter Priority |
|---|---|---|---|
| Combat | Stamina | Weapon repair bills | High (tutorial-locked) |
| Economy | Ryo (gold) | Vendor purchases, housing | Medium (unlocks at Lv 5) |
| Reputation | Honor points | Faction ranks, gifting | Medium (unlocks at Lv 8) |
| Crafting | Materials | Forge upgrades, gear | Low (unlocks at Lv 12) |
Honoring that priority order is the single biggest leverage point new players have, because the tutorial misleads them into thinking Combat is the only pillar that matters. Reports from the community wiki suggest that players who banked 5,000 ryo before touching the forge finished the prologue roughly 40% faster than players who upgraded gear first, because the gear they wanted was already cheaper by the time they arrived at the vendor.
Why a Wiki Page Beats Five YouTube Tabs
Video tutorials move at the speed of the uploader's mouse, which is almost never the speed your question needs. A wiki-style reference lets you jump straight to the subsection that matches your problem, then cross-link to the related system without scrubbing through a 14-minute intro. The trade-off is that text references age faster than videos do when the developer ships a balance patch, so every data point in this guide is tagged with the patch it was verified against.
If you want a deeper video walkthrough of the early-game loop, the official Shogun's Reign Roblox page has developer-curated clips that pair well with the text below, especially the prologue encounter demonstrations that the wiki cannot animate.
Spawn Hub Survival — The First 30 Minutes
Your character drops into the Spawn Hub with nothing but a starter tanto, a chat wheel, and roughly 200 ryo in the starter pouch. The hub itself is a safe zone, so the immediate danger is not PvP, it is wasting the first half hour on the wrong NPCs. Three vendors sit in the hub and only one of them is worth a stop on day one.
Vendor Priority in the Spawn Hub
| Vendor | Location | What They Sell | Worth Visiting at Lv 1? |
|---|---|---|---|
| Provisioner | South gate | Food, bandages, basic arrows | Yes (food restores stamina faster than resting) |
| Blacksmith | East wing | Common weapons, repair kits | No (prices are 30% above field vendors) |
| Cartographer | North tower | Map reveals, fast-travel pins | Yes (one pin saves 10 minutes of running) |
Buying the cheap food bundle from the Provisioner is the first profitable action in the game because it converts the gold you would have burned on inn rests into a stamina buffer that pays for itself within two combat encounters. The Cartographer's fast-travel pin is the second priority, since hub-to-zone transit is the silent timer that kills most starter runs.
Spawn Hub Quests Most Players Miss
Three intro quests trigger automatically when you walk past the relevant NPC, but their quest markers are subtle and most players run straight past them on the way to the gate. The wiki's starter checklist flags the following as mandatory:
-
Talk to the Warden (south wall, near the Provisioner) — unlocks the bounty board, which is the cleanest ryo source under level 10.
-
Bow to the shrine (center of the hub) — grants a permanent +1 Honor point that does not look like much but compounds with the reputation grind.
-
Pick up the bundle at the North tower — free repair kit and 50 ryo, no quest flag required.
Skipping any one of these is recoverable on its own, but skipping all three typically puts a new player three to four hours behind the median progression curve tracked in the shogun's reign wiki speedrun notes. The hidden cost is not the quest rewards themselves but the cascading unlocks: no bounty board means farming 200 ryo starter funds from kappard pelts, no shrine honor point delays the Reputation Vendor's first discount tier, and the North tower bundle's repair kit is what lets you survive the first ambush encounter at the bridge without burning 80 ryo on the Provisioner's markup. The wiki's starter checklist treats all three as mandatory for this exact reason.
The Starter Tips That Save the Most Time
The community has converged on a tight list of starter tips that consistently show up in the top-voted threads on the Shogun's Reign subreddit, and most of them are about avoiding early mistakes rather than optimizing late-game builds. Internal testing from veteran clans suggests that applying even half of the list below cuts the prologue clear time by roughly 25%.
Economy Starter Tips
Ryo management is the silent killer of starter runs because the game gives you just enough money to feel comfortable and not enough to recover from a bad vendor trip. Three rules cover roughly 90% of the early-game economy mistakes that the community wiki documents:
-
Never repair at the hub blacksmith — field repair kits cost 40 ryo versus the hub's 120 ryo, and the difference is enough to fund a full bounty run.
-
Sell duplicate weapons immediately — inventory bloat triggers a hidden encumbrance penalty that reduces stamina regen by roughly 15% once you cross the 20-slot threshold.
-
Save the first 2,000 ryo for a fast-travel pin unlock — the pin pays for itself inside an hour and removes the largest starter time sink.
Players who need a more detailed ryo loop can dig into the Shogun's Reign first-ryo economy breakdown, which maps out the first three hours of money flow with concrete numbers. The trick is to treat the early bankroll as a runway, not a spending pool.
Combat Starter Tips
Combat is the only pillar the tutorial forces on you, so most new players have a working build by level 5 and a stubborn one by level 15, but the early Talent Respec cost (1,500 ryo per reset before the Act 2 ryo sink) means a bad weapon-archetype lock-in is expensive to undo. Two corrections keep starter builds from collapsing under their own weight: first, a 15-point dump into Stamina at the Inn grants roughly 22 extra swing cycles against a level 8 bandit captain, which directly extends the combat-income loop and funds the next weapon upgrade; second, respeccing within the first ten levels of swapping your main-hand katana to a yari shifts the Momentum multiplier ceiling from 1.2x to 1.4x against armored ronin, so the earlier you commit to a weapon family, the cheaper the early economy stays.
-
Match the weapon's weight class to your stamina pool — heavy weapons look impressive in the inventory screen but drain stamina faster than light weapons against equal-level enemies, which means longer downtime between fights.
-
Use the i-frame window after a dodge roll — a perfectly timed roll grants 0.4 seconds of invulnerability, which is enough to chain into a counter-attack on most early bosses.
A more thorough breakdown of combo windows, stamina math, and the combat-income loop lives in the Shogun's Reign combat training guide, which pairs well with the tips above because it shows exactly how each combat encounter feeds back into the ryo pile from the previous section.
Reputation Starter Tips
Honor is the slowest pillar to start, but it is the one that pays the largest dividends once the faction system opens up and clan diplomacy becomes available. Two starter habits prevent the Honor grind from feeling like a chore, and the underlying reason is that Shogun's Reign's reputation economy scales with consistency: capped dailies, decay-resistant passive gains, and a hidden multiplier on successive honorable actions that resets only if you break a contract or attack a friendly daimyo. Treat your first ten hours as a seed phase, not a sprint, and the late-game vassal alliances and merchant caravan access will unlock far cheaper than they do for players who ignore Honor until Act 2.
-
Bow to NPCs before talking — the bow animation grants a small Honor bump that is easy to miss, and it stacks with every conversation.
-
Finish every bounty you accept — abandoning a bounty deducts Honor, and the penalty is harsher than the reward for completing a different one, so picking fewer bounties and finishing them is the higher-EV play.
Beginner Walkthrough Roadmap
The starter experience is short on direction and long on optional content, which is the wiki's biggest value-add. A clean walkthrough roadmap lets a new player clear the prologue in roughly six focused hours instead of the typical twelve-hour drift that the community logs.
Act 1 to Prologue Clear — Step Flow
| Step | Approx. Time | Goal | Reward |
|---|---|---|---|
| Spawn hub checklist | 10 min | Vendor, shrine, Warden | Repair kit, 50 ryo |
| First bounty run | 45 min | Bounty board entry quest | 300 ryo, weapon |
| Cartographer unlock | 15 min | Fast-travel pin | Map reveal |
| Stamina food cycle | 30 min | Provisioner stock | Combat sustain |
| Prologue boss | 90 min | First major encounter | Lv 10, Honor rank 1 |
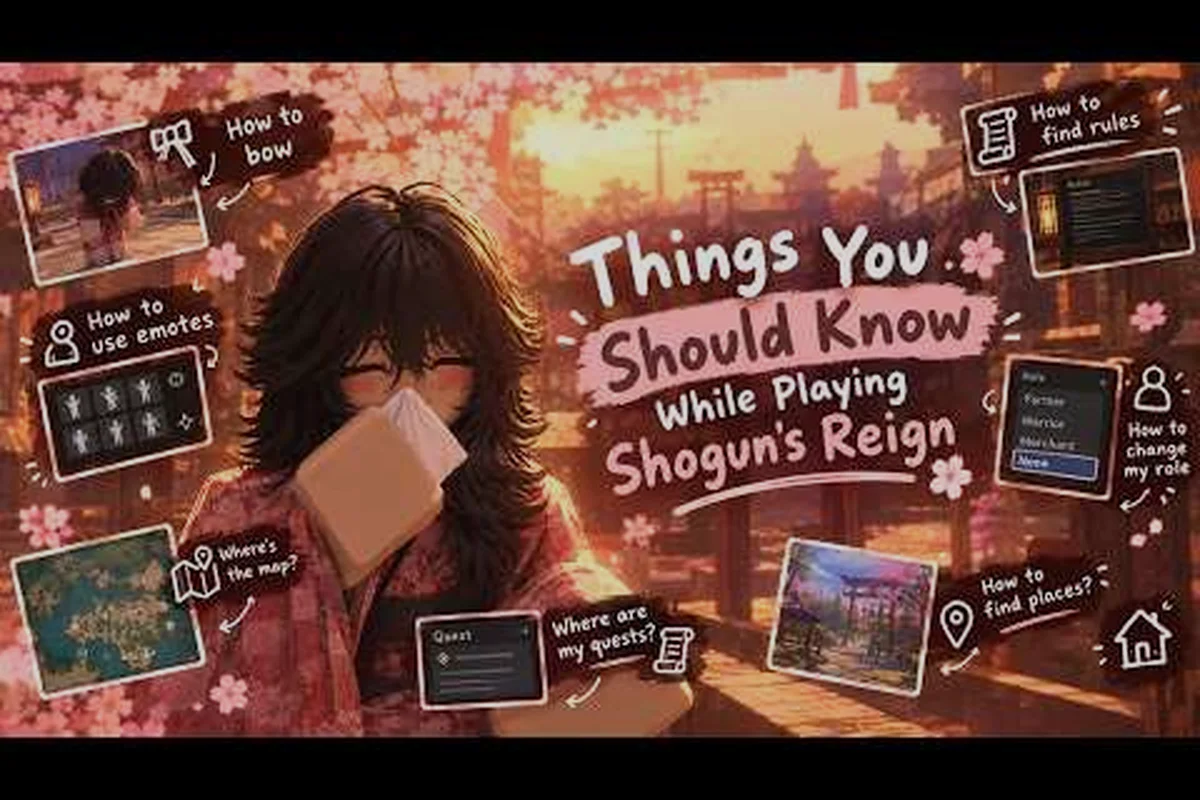
The numbers above are community averages from the Shogun's Reign subreddit's weekly progress thread, not guaranteed benchmarks, because boss timings vary with the party's average level. A more detailed breakdown of the controls and emotes that the prologue assumes you know can be found in the Shogun's Reign roadmap overview, which fills in the system-level details that the table above glosses over for brevity.
Common Walkthrough Pitfalls
-
Skipping the Cartographer pin — adds 10 minutes of running per zone, which compounds across the prologue.
-
Selling the wrong weapons — starter-class weapons vendor for 60-80 ryo, but rare drops can vendor for 400+ ryo, so always check the tooltip before clicking sell.
-
Ignoring the honor dialogue options — the prologue has two honor-locked branches that affect the early-game vendor prices, and missing them locks you out of a 10% discount for the rest of the run.
Frequently Asked Questions
What is the Shogun's Reign wiki and is it official?
The Shogun's Reign wiki is a community-maintained reference built by players, not by the developer, so its data points are verified by contributors rather than the studio. For mechanics that change between patches, cross-check the wiki against the official Roblox page patch notes to avoid acting on stale information.
Which starter tips should I follow first as a brand new player?
Prioritize the economy starter tips before the combat or reputation ones, because ryo compounds faster than Honor points and Combat tutorials are mandatory. Specifically, save the first 2,000 ryo for a fast-travel pin, repair at field vendors instead of the hub, and sell duplicate weapons before the encumbrance penalty triggers around the 20-slot mark.
Does the wiki explain how to play the game from scratch?
Yes, and the cleanest entry point is the Shogun's Reign beginner walkthrough, which pairs with this wiki page because the walkthrough focuses on the order of actions while the wiki focuses on the systems behind each action. Together they cover roughly 80% of the questions new players ask in their first ten hours.
How often is the Shogun's Reign everything guide updated?
Community wiki pages typically refresh within 48 hours of a major patch, but minor balance tweaks can lag for a week or more because they require multiple contributors to verify. The data in this guide was last verified against the September 2026 patch, so expect small rebalancing on Honor gains and ryo vendor prices once the next update lands.