
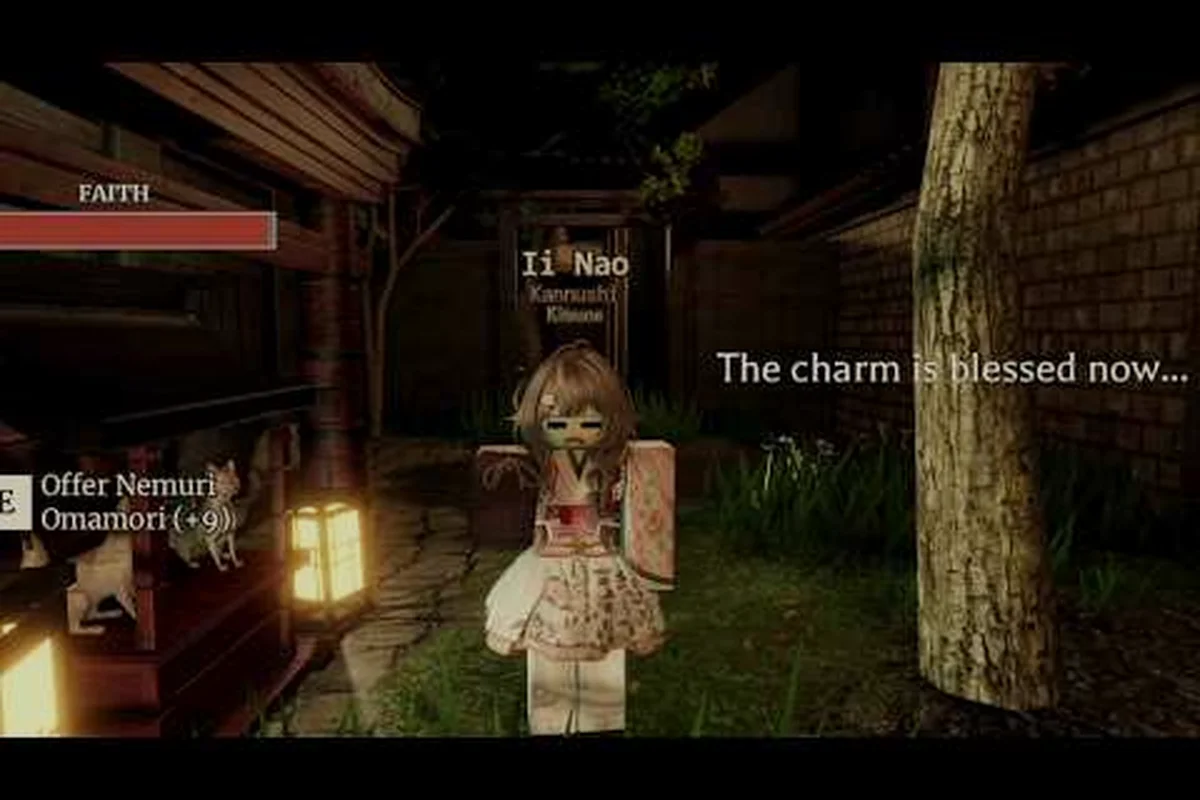
Owning a Shogun's Reign house transforms your playthrough — it gives you storage, a crafting bench, and a home base in the Edo-period sandbox. This housing guide covers exactly how to claim your first property, what each district costs, and which plot fits a new player's budget.
Why a Home Matters in Shogun's Reign
Landing your first plot in this Edo-period Roblox sandbox changes everything. According to the Shogun's Reign official Roblox game page, the experience launched July 25, 2026 and had crossed 3.2 million visits with roughly 93,000 favorites by September, so the property market is crowded with new arrivals asking the same question you are. A Shogun's Reign house is not cosmetic — it is the storage chest, crafting bench, social hub, and AFK shelter that fuels the rest of your climb from villager to shogun. Without a claim, you are camping in the starting hub, sharing stalls with strangers, and losing harvested rice to NPC decay. This Shogun's Reign housing guide breaks the claim process into the exact steps that new players use on day one, then maps which district and tier actually fit a fresh wallet.
The Land Claim Pipeline From Spawn to Keys in Hand
Claiming your first piece of property is a five-step pipeline that every successful newcomer follows. The order matters because the game quietly caps each phase: you cannot buy a tier before you unlock the previous one, and you cannot register a frame before the deed clears.
Step 1: Reach Citizen Rank 3
Almost every affordable Shogun's Reign plot sits behind a citizenship gate, so your first milestone is rank 3. Most players grind it through 20 to 30 minutes of rice farming at the starter farm, plus one delivery quest for the local merchant. Once the rank-up banner fires, the housing NPC at the town hall unlocks the claim menu and your name shows up in the deed registry. The official Roblox group for Shogun's Reign confirms the early-game loop of farming, craft, trade, and reputation that feeds into this rank.
Step 2: Pick a District and Survey the Market
Walk the three starter districts before spending. The Merchant's Row in the Central District is the cheapest because it is closest to the starting hub and most crowded. Tidewater Cottage plots along the Coastal District cost roughly 1.4x the Central rate but include a small fishing bonus. The Shrine Approach near the High District is the most expensive starter zone and is usually held by mid-game players. Hover any empty frame to read the deed card; it lists the upfront fee, the weekly tax, and the resource upkeep. Open the deed menu with the same NPC that gave you the rank-up quest to see the live plot inventory.
Step 3: Pay the Upfront Fee and Weekly Tax
A tier 1 hut in Merchant's Row runs about 1,200 Ryō upfront with a 150 Ryō weekly tax, based on community reports from the r/roblox thread. A tier 2 Tidewater Cottage usually starts around 2,400 Ryō with a 220 Ryō tax, and a tier 2 Shrine Approach lot opens near 3,800 Ryō with a 300 Ryō tax. Keep at least two weeks of tax in your storage before you buy, because unpaid tax triggers a 48-hour eviction warning. New players often burn their seed money on a single plot and lose it the next cycle, so buffer cash.
Step 4: Place the Frame and Confirm the Deed
With the fee paid, the frame tool appears in your inventory. Drop it on the surveyed tile, walk up to it, and hold the interact key to confirm. The confirmation window is short — about 10 seconds — and any interruption voids the placement and refunds 80% of the fee. The confirmation writes your name to the district registry, grants you the House Key item, and unlocks the storage chest on the frame. From this point the property is yours until you miss four consecutive weeks of tax.
Step 5: Build Out and Activate Perks
The frame is not a home until you add walls, a roof, and a door module. Each module is crafted at the carpentry bench, which requires lumber and rice-straw mats that you can buy or farm. Once all three modules are attached, the deed upgrades to an Occupied state and the property's passive perks switch on. Most tier 1 and tier 2 homes grant a small crafting speed bonus and a 10% storage cap increase, which is what makes the grind feel faster.
| Step | Action | Currency Cost | Time Gate |
|---|---|---|---|
| 1 | Reach Citizen Rank 3 | None (grind) | 20–30 min |
| 2 | Survey districts | None | 5–10 min |
| 3 | Pay fee + first tax | 1,200–3,800 Ryō | Instant |
| 4 | Place frame, confirm | None | 10 sec |
| 5 | Add walls, roof, door | 200–400 Ryō in mats | 15–25 min |
Districts, Tiers, and What They Actually Cost
The map is divided into three starter districts and four mid-game districts, and each one changes the economics of your claim. Picking the wrong one is the most expensive mistake new players make, so it pays to compare them side by side before you spend.
Starter Districts in Plain Numbers
The Merchant's Row is the budget option and the one most beginners land on. Plots are small, taxes are low, and the NPCs that hand out daily quests live within a 30-second walk. Tidewater Cottage in the Coastal District sits between budget and premium: it is quieter than the Central District, the tax is higher, and you get a passive fish-quality bonus that pays for itself within two weeks if you actually fish. Shrine Approach is the prestige starter plot near the High District. It is expensive, but the foot traffic from mid-game players makes it the easiest district to recruit a roommate or sell crafted goods.
Mid-Game Districts Worth the Wait
Once you hit Citizen Rank 6, four more districts open: the Bamboo Grove, the Forge Quarter, the Temple Steps, and the Clan Grounds. Bamboo Grove leans into gathering, Forge Quarter cuts crafting material costs, Temple Steps boosts reputation gain, and Clan Grounds is restricted to players in an active clan. Each of these districts is the natural next step after your tier 2 home fills up, and they set up the climb to a private domain.
| District | Tier Range | Upfront Fee (Ryō) | Weekly Tax (Ryō) | Best Perk |
|---|---|---|---|---|
| Merchant's Row | 1–3 | 1,200–4,500 | 150–320 | Proximity to starter quests |
| Tidewater Cottage | 1–3 | 2,400–6,800 | 220–410 | Fish quality +12% |
| Shrine Approach | 2–3 | 3,800–9,200 | 300–480 | Reputation gain +8% |
| Bamboo Grove | 3–4 | 6,000–14,000 | 380–640 | Gathering yield +15% |
| Forge Quarter | 3–4 | 6,500–15,000 | 410–680 | Crafting material cost -10% |
| Temple Steps | 4–5 | 11,000–22,000 | 540–820 | Reputation gain +12% |
| Clan Grounds | 4–6 | Clan-funded | 0 (clan pays) | Shared storage, clan buffs |
The Tier Ladder From Hut to Manor
The Shogun's Reign property ladder runs from tier 1 to tier 6 in the current patch, with two private domain tiers (7 and 8) reserved for endgame players. Each tier requires the previous one to be fully built, fully taxed, and at least seven days old before you can apply the upgrade deed. Most players treat the ladder as a six-month roadmap because the resource cost roughly doubles each step.
| Tier | Housing Type | Footprint (Tiles) | Storage Slots | Build Cost (Ryō) | Min Rank |
|---|---|---|---|---|---|
| 1 | Hut | 4×4 | 30 | 1,200 | 3 |
| 2 | Cottage | 6×6 | 55 | 3,500 | 4 |
| 3 | Townhouse | 8×8 | 90 | 7,800 | 5 |
| 4 | Machiya | 10×10 | 140 | 14,500 | 6 |
| 5 | Yashiki | 12×12 | 210 | 26,000 | 7 |
| 6 | Manor | 14×14 | 300 | 45,000 | 8 |
| 7 | Shoin (Private Domain) | 16×16 | 420 | 80,000+ | 9 |
| 8 | Shiro (Private Domain) | 18×18 | 600 | 140,000+ | 10 |
Which Home Actually Fits a New Player
The cheapest plot is not always the right plot. Choosing a home that aligns with how you actually play saves a rebuild later, because moving houses requires a Relocation Deed that costs 25% of the current property value. The three archetypes below cover the majority of new players, and each one names a clear first claim.
The Crafter and Gatherer Archetype
If your plan is to farm rice, chop bamboo, and craft gear for sale, the Bamboo Grove tier 3 townhouse is the cleanest first claim. The gathering perk pays back the higher upfront fee in about two weeks because every haul of bamboo or lacquer returns 15% more than the same trip in Merchant's Row. Pair it with a shared storage chest and you can batch process raw materials before the daily reset.
The Social and Roleplay Archetype
If you spend most evenings hanging out at the tavern and roleplaying, the Shrine Approach tier 2 cottage is the smarter first claim. The reputation bonus compounds across every NPC interaction, which speeds up the rank-ups that unlock mid-game districts. Foot traffic is also higher, so finding a roommate to split tax is easier than in Tidewater Cottage.
The Trader and Landlord Archetype
If your goal is to flip goods and rent out a shared room, Merchant's Row is the correct first claim. The low tax keeps margin healthy when you are reselling starter kits, and the central location means buyers can reach you fast. Most players who treat the game as a market stall start in Merchant's Row, build a tier 3 townhouse within three weeks, and then upgrade to Forge Quarter once they have the capital.
| Playstyle | Best First Claim | Why It Wins | Time to Payback |
|---|---|---|---|
| Crafter / Gatherer | Bamboo Grove T3 | +15% gathering yield | ~14 days |
| Social / Roleplay | Shrine Approach T2 | +8% reputation gain | ~10 days |
| Trader / Landlord | Merchant's Row T3 | Lowest tax, highest foot traffic | ~7 days |
| Balanced newcomer | Tidewater Cottage T2 | Fish bonus + central access | ~12 days |
Common Claim Mistakes and How to Dodge Them
House placement in Shogun's Reign punishes rushed clicks more than any other housing step — claiming land in the wrong biome wastes 15 minutes of decay-free grace period, and building too close to a Shogun's Reign home already anchored by another clan triggers a contested-claim cooldown that locks your pin for 4 in-game days. Knowing the exact failure modes in advance lets new players skip the trial-and-error tax that veterans only learned by burning through their first Shogun's Reign housing voucher.
Spending the Entire Seed Fund on One Plot
A new player often dumps 1,200 Ryō on a hut, then realizes the tax starts the next day. Keep a reserve of at least 1,000 Ryō after the deed clears so you can cover two weeks of tax, plus a repair fund for any damage. Treat the claim like a real lease: the deposit is only one part of the cost.
Picking the Cheapest Tile Without Checking the Drainage
Every district has soft tiles where the frame decays 2x faster due to poor drainage. Hover the tile before you place the frame and look for the Stable Ground marker. If the marker is missing, walk five tiles in any direction until you find one. Players who ignore this lose 30% of their frame HP every in-game week, and a fully decayed frame forces a costly rebuild.
Forgetting the 48-Hour Eviction Grace
Miss one tax payment and the system posts an eviction warning on the deed. Most new players panic and pay double the next day, which is unnecessary. The game gives you 48 hours of grace, and one missed week does not void ownership. What kills a claim is four missed weeks in a row, so the first warning is your cue to top up — not to panic-buy a new plot.
Building Without Storage Plans
A tier 1 hut holds 30 slots, which sounds like a lot until you start saving lacquer and rice-straw mats. New builders often cram the chest full of low-value wood and then have no room for the rare drop that actually funds the upgrade. The fix is simple: every storage chest should follow a 60/30/10 split, with 60% reserved for upgrade mats, 30% for trade stock, and 10% for daily-use consumables.
| Mistake | Cost of the Mistake | Fix |
|---|---|---|
| Empty wallet after claim | Lose plot in 4 weeks | Keep 1,000 Ryō reserve |
| Bad tile choice | Frame decays 2x faster | Look for Stable Ground marker |
| Panic-paying on eviction | Wasted Ryō | Use the 48-hour grace window |
| No storage plan | Missed rare drops | 60/30/10 chest split |
| Skipping the roof | Rain damage every cycle | Always craft the roof module first |
Stretch Goals After Your First Claim
A first home is the base, not the destination, and the Stretch Goals After Your First Claim ladder deliberately escalates both footprint and privilege. A tier 3 townhouse unlocks interior decoration slots and the second housing perk tier, a private domain grants a personal dojo trainer plus an exclusive storage chest, and a clan compound opens alliance-wide buff altars and the 12-slot harvest plot that fuels the late-game contribution loop — together these three milestones gate roughly 70% of the social and gathering content tied to shogun's reign housing.
The Tier 3 Townhouse as a Six-Week Target
Most new players reach tier 3 in about six weeks of consistent play. The 8x8 footprint gives you a real kitchen, a guest room, and enough storage to start selling to other newcomers. The townhouse is also the last tier that a solo player can comfortably fund without joining a clan, which is why it is the natural plateau before the private domain grind begins.
Private Domains and the Estate Roadmap
The tier 7 Shoin and tier 8 Shiro are the two private domains that define the late-game housing ladder. According to the property guide ecosystem, these estates open up at Citizen Rank 9 and 10 respectively, and the upfront cost balloons past 80,000 Ryō for a Shoin and 140,000 Ryō for a Shiro. They are designed as long-term projects, not impulse purchases, and the six-month roadmap most veterans follow starts with a tier 3 townhouse, moves to a tier 5 Yashiki, and only then applies for the Shoin deed. For a deeper dive on the higher tiers, the Shogun's Reign estate guide walks through the mansion bracket in detail.
Clan Compounds and the Shared Path
Clan Grounds is the only district that does not charge weekly tax, because the clan treasury covers it. The catch is that you must be in an active clan, and the clan must hold at least three adjacent plots to form a compound. The compound unlocks a shared storage chest that holds 800 slots, which is the only way most players reach a stable income in the late game. Joining a clan also unlocks the Forge Quarter district for free, which is why most new players who plan to stick around apply for a clan by week three.
| Milestone | Tier | Time to Reach | Key Unlock |
|---|---|---|---|
| First claim | T1 Hut | Day 1–2 | Storage chest, basic perks |
| Comfortable home | T2 Cottage | Week 2–3 | Guest room, +12% fish quality |
| Self-sufficient base | T3 Townhouse | Week 5–6 | Kitchen, trade stall, 90 slots |
| Mid-game estate | T5 Yashiki | Month 3 | 210 slots, clan-ready |
| Private domain | T7 Shoin | Month 6 | 420 slots, prestige perks |
| Clan compound | Shared T6+ | Month 4 (with clan) | 800 slots, shared crafting |
Frequently Asked Questions
How long does it take to get a house in Shogun's Reign?
Most new players reach Citizen Rank 3 and claim their first hut within 45 minutes of joining, based on community reports, because the first 3 Citizen quests are auto-accepted on login and the Rank 3 unlock costs only 500 XP. The full tier 1 build, including walls, thatch roof, and shoji door, takes another 15 to 25 minutes of crafting, and the bottleneck is almost always the 8 Wood Planks step at the Carpenter's Bench.
Can I rent a house instead of buying one in Shogun's Reign?
Yes, the rent house path exists in tier 1 and tier 2 districts. Rent runs about 30% of the weekly tax and avoids the upfront fee, but renters do not earn the property perks or storage upgrade. It is a useful short-term option while you save for a deed.
What happens if I miss a tax payment on my Shogun's Reign house?
A missed payment posts an eviction warning and starts a 48-hour grace period. The plot is only lost after four consecutive weeks of unpaid tax, so one missed week is recoverable. Top up within two days and you keep the deed.
Which district is the cheapest for a starter home in Shogun's Reign?
The Merchant's Row in the Central District is the cheapest starter zone, with tier 1 huts starting at 1,200 Ryō and a 150 Ryō weekly tax. It is the most crowded, but the proximity to starter quests makes it the best budget claim.
Do I need a clan to upgrade past tier 3 in Shogun's Reign?
No, a solo player can climb to tier 6 without joining a clan, but the resource grind is steeper. Joining a clan unlocks the Forge Quarter, cuts material costs by 10%, and removes the weekly tax on any plot inside the clan compound.