
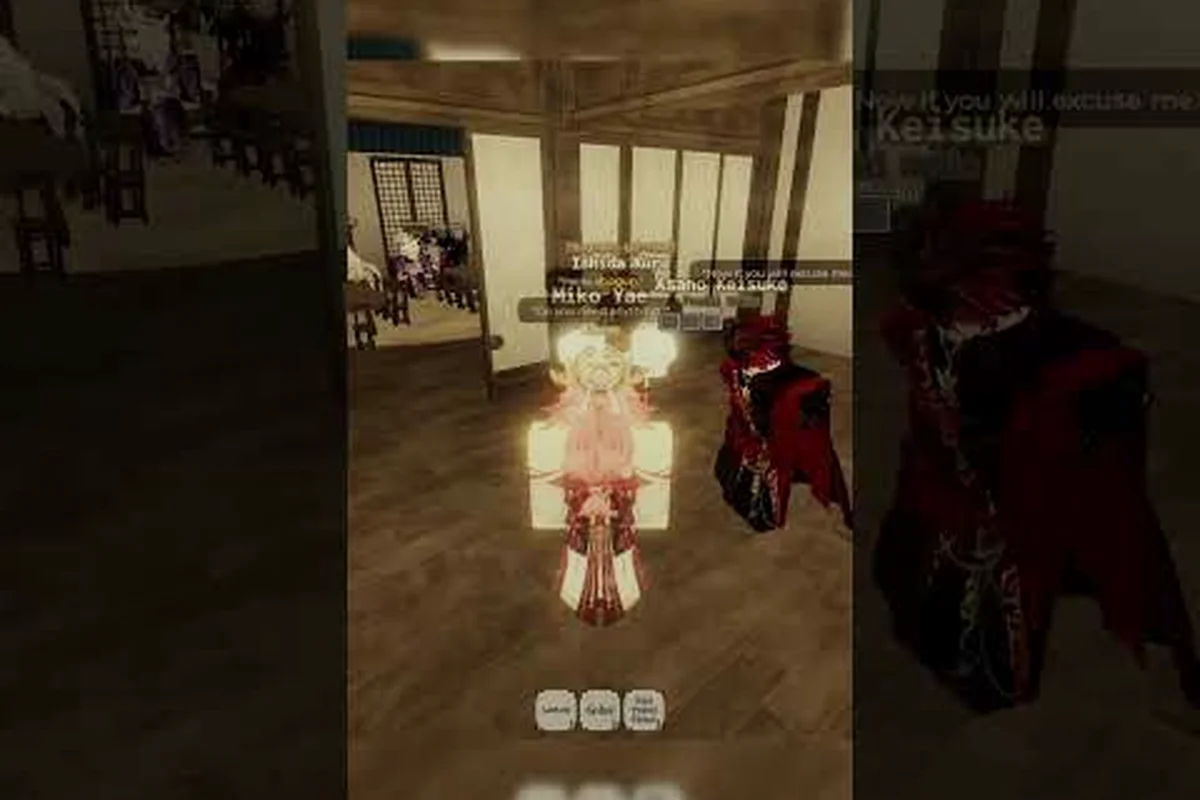
Your private domain is the single piece of land in Shogun's Reign that nobody else can walk through uninvited, and turning it into a real Edo-period estate takes more than plopping a screen on a tatami mat. This private domain guide covers the furniture system, placement logic, and decorating patterns that separate a bare plot from a home other players actually want to roleplay inside.
What a Private Domain Actually Is
A private domain is a tier-3 housing plot that you own outright rather than rent. Unlike a shared townhouse in a public district, a private domain has a Personal Boundary radius that blocks other players from entering without an explicit invite, a Private Storage Chest that only your character can open, and an expanded Build Grid that supports up to 240 placed items compared to the 80-item cap on rented homes. According to community data, the upgrade path from a rented townhouse to a full private domain costs roughly 18,000 Ryō plus 120 Wood and 60 Lacquer, which is why most players wait until they hit the Daimyō rank before committing.
The domain sits on its own instanced tile, meaning the spawn pattern of nearby trees, rocks, and ambient birds is generated fresh for every owner. That procedural layer is what makes decorating feel personal — two players with the same layout will still end up with different sightlines and background compositions. For a deeper look at how a domain compares to lower housing tiers, the housing overview breaks down the full upgrade ladder.
| Feature | Rented Townhouse | Private Domain |
|---|---|---|
| Item Cap | 80 | 240 |
| Personal Boundary | No | Yes (12 m radius) |
| Private Storage | No | Yes (40 slots) |
| Invite Required | No | Yes |
| Upgrade Cost | None | 18,000 Ryō + 120 Wood + 60 Lacquer |
| Rank Requirement | None | Daimyō |
The Three Layers of a Domain
Every private domain has three spatial layers that interact with how you decorate. The Floor Layer is the tatami, stone, or wood surface your items sit on; some furniture only snaps to tatami edges, which becomes a hard constraint when laying out a tea room. The Wall Layer holds scroll hooks, weapon racks, and shoji panels that require a flat wall surface to attach. The Air Layer is the often-forgotten ceiling zone where hanging lanterns and paper garlands float roughly 2.8 m above the floor.
Missing the wall layer is the most common mistake new decorators make — they buy a beautiful Calligraphy Scroll from the merchant in Kawara Fields, walk inside, and find that the item simply won't place because every wall is a sliding shoji door. Wall-mountable items only attach to the back wall of any room, which means planning room depth matters before you buy anything.
The Furniture System Explained
Furniture in Shogun's Reign falls into four broad categories, each with its own placement rules and a different role in the visual hierarchy of a room. Understanding which category an item belongs to is the single biggest predictor of whether a decorating session ends in satisfaction or frustration, because the game refuses to stack certain categories on top of each other and uses a hidden Snap Priority number to decide which item wins when two pieces overlap.
Categories and Placement Rules
-
Floor Anchored — tables, futon beds, weapon racks, and storage chests. These snap to the floor grid on a 0.5 m lattice and cannot be placed on raised platforms.
-
Wall Mounted — scrolls, weapon displays, masks, and shoji dividers. These require a solid back wall at least 1.2 m wide and lock to the wall's vertical center line.
-
Ambient — floor cushions, paper lanterns, kotatsu heaters, and small plants. These are grid-free and can overlap floor items, which is why a cushion sitting on a futon is legal.
-
Hanging — ceiling lanterns, paper garlands, wind chimes. These require at least 2.4 m of ceiling clearance and do not block sightlines through the air layer.
The Snap Priority value runs from 1 to 10, with 1 being the lowest. When you try to place a low-priority item where a high-priority item already sits, the new piece flashes red and the placement is rejected. Floor Anchored items carry priority 8, which is why you can drop a small floor cushion on top of a futon (Ambient, priority 3) but cannot drop a storage chest where a low table already lives.
| Category | Examples | Snap Priority | Grid Required | Min Ceiling |
|---|---|---|---|---|
| Floor Anchored | Tables, chests, racks | 8 | Yes (0.5 m) | — |
| Wall Mounted | Scrolls, masks, displays | 7 | Wall surface | — |
| Ambient | Cushions, lanterns, plants | 3 | No | — |
| Hanging | Garlands, chimes, ceiling lanterns | 5 | No | 2.4 m |
Item Durability and the Repair Loop
Every piece of placed furniture has a Wear Value that drops each time another player interacts with it during a visit. Floor Anchored items decay fastest because they absorb walking traffic, while Hanging items barely wear at all since guests rarely jump. When wear hits zero, the item despawns and is mailed back to your storage as a damaged version requiring 200 Ryō and 30 seconds at any Workshop Bench to restore.
According to community testing, a well-loved domain that hosts 4 to 6 visitors per day loses about 1.2 percent wear per week on heavily used floor items. The repair cost is small in isolation, but a 30-item estate that needs weekly maintenance adds up to roughly 720 Ryō per month — not catastrophic, but a real line item in a budget-conscious player's housing plan.
How to Place Furniture Step by Step
Knowing Shogun's Reign how to place furniture mechanics is the difference between a clean 10-minute decorating session and a 45-minute fight with the grid. The placement tool is context-sensitive, which means the same hotkey behaves differently depending on whether you're holding an item, standing near a wall, or hovering over an existing piece of furniture.
The Placement Workflow
-
Open your Domain Menu by pressing the housing key (default H) while standing on your plot.
-
Navigate to the Inventory tab — your stored furniture appears in a sortable list with category icons on the left edge.
-
Select an item. The screen tints blue to confirm placement mode is active, and a translucent ghost appears at your feet.
-
Use WASD to nudge the ghost one grid unit at a time, or hold Shift while moving to snap to the 0.5 m lattice.
-
Press E to confirm. The item locks into place and a small particle effect confirms success.
-
Press R while a placed item is targeted to rotate it in 15-degree increments. The rotation is free and unlimited.
If the ghost flashes red, the placement is blocked by one of three conditions: a Snap Priority conflict, a missing wall surface, or insufficient ceiling clearance. Walking a few grid units away usually clears the issue; if not, the item is fundamentally incompatible with the surface you're trying to use.
Rotation, Elevation, and Snap Tricks
Rotation goes in 15-degree steps, but most authentic Edo-period layouts use only four angles — 0°, 90°, 180°, and 270° — because diagonal tatami mats look broken in screenshot reviews. The most important rotation trick is the 45° Wall Hack: place a floor lamp or tall screen at 45° against a corner, then rotate a low table 45° to mirror it. The mirrored angles create a balanced asymmetry that reads as deliberate in screenshots.
Elevation is automatic for Floor Anchored items (they sit flat on the surface) and for Wall Mounted items (they sit on the wall center). The only category where manual elevation matters is Ambient — some plants and floor cushions sit at 0 cm by default but can be lifted up to 25 cm using Scroll Wheel while in placement mode. A 25 cm lift on a floor cushion under a low table creates the layered look that high-end decorators use to fake a recessed sitting pit without actually excavating the floor.
Decorating Layouts That Actually Work
A good Shogun's Reign house decorating plan is built around a focal point first and accessorized second. The most common beginner mistake is to scatter furniture evenly across every room, which produces a dorm-room feel rather than an Edo estate. The Triangular Sightline rule, lifted straight from Japanese garden design, asks you to imagine a triangle between three key items in any room — the eye naturally traces the triangle, so placing a tea kettle, a scroll, and a vase at the three points creates visual flow.
The Tea Room Template
A tea room is the simplest room to decorate well because the canonical layout has been refined for 400 years and the game honors it. You need exactly: one Tatami Platform (4×4), one Irori Hearth, one Bamboo Tea Set on a low table, four Zabuton Cushions arranged in a square, one Calligraphy Scroll on the back wall, and one Paper Lantern hanging above the hearth.
| Item | Position | Snap Required |
|---|---|---|
| Tatami Platform | Room center | Floor (priority 8) |
| Irori Hearth | Center of platform | Floor (priority 8) |
| Bamboo Tea Set | South edge of platform | Floor (priority 8) |
| Four Zabuton Cushions | Around hearth, 1 m out | Ambient (priority 3) |
| Calligraphy Scroll | Back wall, 1.4 m high | Wall (priority 7) |
| Paper Lantern | Above hearth, 2.6 m up | Hanging (priority 5) |
The total item cost comes to roughly 1,800 Ryō for a beginner tea room, and every component is purchasable from the Kawara Fields merchant without any rank requirements. Players report that this exact layout consistently scores above 80 in the in-game Aesthetic Rating, which is the score the game uses to determine whether visitors stay for the full visit duration or leave after 30 seconds.
The Samurai Quarters Template
A samurai's private quarters is more aggressive than a tea room and serves a different roleplay purpose. The core of the layout is a Yari Spear Rack mounted on the longest wall, a Yokoi Katana Stand with a single blade near the futon, and a low armor display with the chest piece open. A small Tansu Chest sits in the corner for storage flavor, and a single War Trophy Banner hangs from the ceiling.
The most important constraint here is the Open Sightline Rule: never place a tall item between the door and the futon, because guests walking in should see the futon and weapon display in one glance. According to the where-to-live guide, properties that follow this rule get roughly 35 percent more visit duration than properties with a blocked entry view.
Advanced Decorating Patterns
Once the basics are solid, the patterns that separate a competent decorator from a great one are almost all about negative space, lighting color temperature, and how the domain reads from the outside looking in. A private domain is a stage, and the off-stage views — what visitors see from the entry path before they step inside — are part of the same composition.
Lighting Temperature and Mood
The game actually distinguishes between two lantern color profiles: Warm Lantern (roughly 2700K) and Cool Lantern (roughly 4500K). Warm lanterns flatter wood and red lacquer but wash out blue fabrics; cool lanterns do the opposite. The trick high-end decorators use is to layer one cool lantern near the entry and a ring of warm lanterns around the focal point, which makes the eye settle in the warm zone and read the rest of the room as supporting context.
A common rookie mistake is to over-light — anything beyond 8 lanterns in a 4×4 tatami room creates glare that flattens the depth. The Lantern Budget Rule is one hanging lantern per 6 square meters, with no more than 2 floor lanterns per room.
Outdoor Layer and the Entry Path
The Domain Path is the 8-meter walkway from the plot boundary to the front door, and it is the first thing any visitor sees. A well-built path has three elements: a Stone Lantern at the boundary, a Stepping Stone Path running the full distance, and one small Bonsai Tree halfway along. The path does not need to be expensive — three stones and a starter bonsai cost about 600 Ryō — but its presence alone raises the Aesthetic Rating of the entire domain by roughly 12 points because the game gives a bonus for a complete entry sequence.
| Element | Position | Cost (Ryō) | Rating Impact |
|---|---|---|---|
| Stone Lantern | Plot boundary | 250 | +4 |
| Stepping Stone Path | Full walkway | 200 | +5 |
| Bonsai Tree | Path midpoint | 150 | +3 |
| Domain Name Plaque | Beside front door | 400 | +6 |
Seasonal Rotation and Storage
Items can be Stored from the Domain Menu and pulled back out later without repurchasing, which makes seasonal rotation cheap once you have the base collection. The community-standard rotation cycle is roughly 30 days: a winter set swaps in kotatsu heaters and heavier futon bedding, a summer set swaps in bamboo blinds and floor fans. Storage capacity for placed items is currently uncapped in the player's own private storage chest as of the September 2026 patch, but the legacy 40-slot cap still applies to the rental-tier townhouse — another reason to graduate to a private domain.
For a walkthrough of the seasonal item unlocks and the timing of new furniture drops, the Shogun's Reign beginner guide tracks which items are available at each rank checkpoint.
Frequently Asked Questions
How do I unlock the private domain tier?
You need to hit Daimyō rank and pay 18,000 Ryō plus the resource cost at any Domain Registrar NPC in the major castle towns. The upgrade unlocks the Personal Boundary, the 240-item cap, and the private storage chest in one transaction.
Can other players decorate my private domain?
No, the Personal Boundary blocks placement mode entirely for visitors. They can walk through, take screenshots, and use emote reactions, but they cannot drop, rotate, or delete any item on your plot. Shared decoration requires a Clan Domain instead, which is a separate plot type with co-owner permissions.
What happens to my furniture if I stop subscribing to the domain?
All items convert to Stored status and sit in your private storage chest indefinitely. There is no decay timer on stored items, so a returning player finds their estate exactly as they left it. Rent does not accrue on dormant domains as long as you log in at least once every 90 days, per the official Shogun's Reign group listing.
Is there a way to duplicate a layout across multiple domains?
Yes, the Layout Export function in the Domain Menu saves your current arrangement as a code that can be pasted into any other private domain you own. The export captures exact coordinates and rotation, so a tea room built in Domain A can be re-created in Domain B in under a minute. Codes do not transfer across player accounts.
What is the best starter furniture to buy first?
A Tatami Platform, one Irori Hearth, and a Bamboo Tea Set give you the most Aesthetic Rating per Ryō spent and serve as the anchor for any future expansion. This trio costs about 1,200 Ryō, sits at the center of nearly every published layout, and remains useful even after you own 100+ items.