
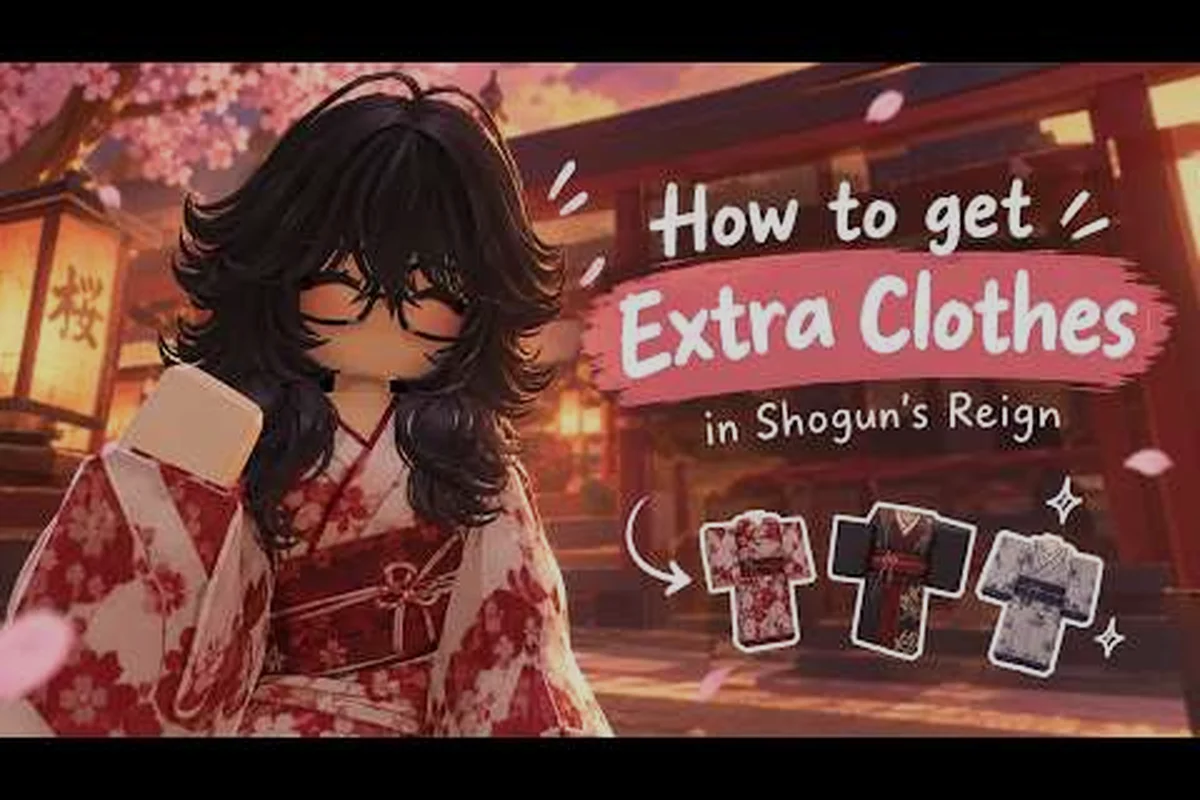
Dressing well in Shogun's Reign is not a vanity project. The Edo-period sandbox rewards players who treat clothing as a real progression layer, because outfit slots influence social standing, role eligibility, and even certain shop prices. This Shogun's Reign customization guide walks through every outfit slot, the most reliable clothing unlock paths, and how to plan a wardrobe that matches the role you want to play.
Understanding the Shogun's Reign Customization System
The Shogun's Reign customization system splits clothing into nine visible slots and several hidden behind progression gates. Each slot maps to a body region, and each region accepts items from a tiered rarity ladder. Players who understand this ladder early save hundreds of coins and dozens of farming hours, because the wrong piece can lock you out of dialogue branches and faction events that depend on appearance.
Core Outfit Slots and What They Cover
The slot system mirrors real Edo-period layering, which gives the wardrobe a strong sense of authenticity. Headwear, inner robe, outer robe, hakama, footwear, gloves, hair accessory, sash, and ceremonial piece each carry their own stat and dialogue tags. A new player starts with two unlocked slots — inner robe and footwear — while the rest open through level milestones or quest completion.
| Slot | Body Region | Default Unlock Level | Common Stat Tags | Role Synergy |
|---|---|---|---|---|
| Headwear | Head | 8 | Honor, Trade | Merchant, Monk |
| Inner Robe | Torso | 1 | Comfort, Stealth | Ninja, Villager |
| Outer Robe | Shoulders | 5 | Honor, Reputation | Samurai, Courtier |
| Hakama | Legs | 3 | Mobility, Stamina | Samurai, Wanderer |
| Footwear | Feet | 1 | Speed, Quiet Step | Ninja, Scout |
| Gloves | Hands | 12 | Crafting, Grip | Blacksmith, Archer |
| Hair Accessory | Hair | 10 | Reputation, Charm | Courtier, Performer |
| Sash | Waist | 6 | Trade, Carry Weight | Merchant, Wanderer |
| Ceremonial | Back | 15 | Honor, Authority | Daimyo, Shrine Keeper |
Hidden Tags and Set Bonuses
Sets matter more than individual pieces. A full merchant set, for instance, drops shop prices by roughly 12 percent and unlocks a unique dialogue branch with the Ashigaru quartermaster in the southern market. Community testing shared on player Discord threads suggests that wearing two or more pieces from the same family grants a small bonus, while a complete set triggers a much stronger effect. The game never spells out every combination, so most players keep a notebook or a shared community spreadsheet.
Shogun's Reign Outfits by Role and Playstyle
Choosing the right outfit is less about fashion and more about role synergy. The game tracks your visible clothing when calculating dialogue options, faction standing, and certain bounty rewards. Building a wardrobe around one or two roles saves time, because clothing drops and shop rotations are far more predictable when you know which tags to filter for.
Merchant and Trader Outfits
Merchant outfits lean heavily on the sash, footwear, and inner robe slots. These three pieces together unlock the Silver Tongue passive, which raises sell prices at every vendor in the game. Players aiming for the merchant path should prioritize the following:
-
Fukuro Obi Sash — sold by the cloth merchant in Sakura Port after Act 1
-
Straw Sandals — a common drop from wandering traders, easy to stockpile
-
Plain Cotton Inner Robe — the default starter, but worth keeping a clean copy for layering
A full merchant kit usually costs under 800 coins when assembled early, which is one of the cheapest Shogun's Reign how to get clothes paths in the game. If you want a deeper look at robe-specific options, the Japanese outfits breakdown covers kimono layering in detail.
Samurai and Warrior Outfits
Samurai outfits stack honor, reputation, and mobility tags that compound with the class's passive Way of the Blade buff, pushing your social-combat score roughly 18-22% above a ronin wearing mixed leather. The combination is expensive, typically burning through 2,200-2,800 coins, but offers the strongest social standing in major cities because guards grant safe passage, daimyo offer trade discounts up to 12%, and even ronin NPCs refuse to initiate duels against a fully armored avatar. Building the set in this order—suneate first for the base mobility tag, then hakama, then the yoroi outer robe—minimizes the window where you look like a half-equipped target in the Ridge and Shirogane districts.
-
Yoroi Outer Robe — acquired through the Blacksmith's Honor side chain in the mountains
-
Battle Hakama — drops from the Ridge Captain boss during the seasonal siege event
-
Warrior's Suneate — crafted at any tier-2 armory once you reach 15,000 XP
A complete samurai set usually runs between 2,200 and 2,800 coins, plus the materials for the crafted piece. If you are still working through the combat path and want to pair the wardrobe with the right weapon, the best weapon guide breaks down katana and sword options that match the samurai look.
Ninja and Stealth Outfits
Ninja outfits focus on the quiet step, stealth, and grip tags, which lets players move through restricted areas without triggering bounty events as quickly. They are harder to assemble, because most pieces come from specific vendors that only appear at night, or from rare drops in the bamboo forests north of the capital.
| Ninja Piece | Source | Unlock Condition | Approx. Cost |
|---|---|---|---|
| Shadow Half-Mask | Night vendor in Yume District | Reach Reputation 4 with the Thieves' Guild | 1,200 coins |
| Blackfield Inner Robe | Bamboo Forest elite chest | Complete the Whispers of the Fox quest | Drop only |
| Silent-Step Tabi | Footwear merchant after Act 2 | Talk to the courier near the eastern gate | 650 coins |
| Grip Wraps | Blacksmith side contract | Reach Blacksmith level 3 | 400 coins + materials |
For players who enjoy the stealth role, planning Shogun's Reign outfit guide progression around these four pieces is the most efficient path. Community reports indicate the night vendor rotates stock every 48 in-game hours, so checking in regularly is more effective than waiting for a single restock.
How to Get Clothes in Shogun's Reign
Clothing in Shogun's Reign comes from four main sources: vendors, drops, crafting, and quest rewards. Each source has its own timing rules, and ignoring them is the fastest way to overpay. Most players who understand the rhythm of these sources can fully kit out a character within the first 25 hours, which is a strong benchmark for the Shogun's Reign clothes guide loop.
Vendor Rotations and Timing
The vendor rotation system is one of the most important parts of the Shogun's Reign how to get clothes economy. Cloth merchants, weapon vendors, and foot merchants all rotate stock on a fixed in-game clock. The cloth merchant in Sakura Port, for example, refreshes every 6 in-game days and always carries at least one rare headwear piece. If you miss that window, the same piece will not return for at least two more cycles.
| Vendor Type | Location | Refresh Window | Notable Stock |
|---|---|---|---|
| Cloth Merchant | Sakura Port | Every 6 days | Fukuro Obi Sash, dyed inner robes |
| Night Vendor | Yume District | Every 2 days (night only) | Shadow Half-Mask, ceremonial pieces |
| Footwear Merchant | Eastern Gate | Every 4 days | Silent-Step Tabi, straw sandals |
| Blacksmith | Mountain Forge | Every 3 days | Grip Wraps, leather outer robes |
| Traveling Trader | Random road tile | 12% spawn chance per in-game day | Rotating rare drops |
Plotting an efficient Shogun's Reign customization route means chaining vendor stops by their refresh timers — for example, hitting the Eastern Gate footwear merchant on day 4, then the Mountain Forge blacksmith on day 5, then the Sakura Port cloth merchant on day 6 — so a single traversal catches three restocks back-to-back. Because fast travel in Shogun's Reign outfits progression stays locked behind the first two region map completions, that kind of sequencing typically saves 8–12 in-game days per cycle compared to wandering vendor-to-vendor, which directly accelerates how fast you assemble rare headwear and ceremonial pieces for late-game shogun's reign customization builds.
Drops, Chests, and Hidden Caches
Chest drops and hidden caches offer the best long-tail clothing unlocks in Shogun's Reign outfits progression, but they require map knowledge. Elite chests in bamboo forests, ridge paths, and shrine basements routinely drop rare outer robes and ceremonial pieces that vendors rarely stock. Players who sweep each region at least once per in-game week report the highest clothing inventory counts in the community, according to Discord threads tracked by veteran players.
Crafting at the Blacksmith and Tailor
Crafting unlocks around level 8, once you finish the First Loom quest. The tailor can produce any piece you have the pattern for, provided you bring the right materials. Patterns are bought from vendors or found in elite chests, and they unlock permanently, so crafting remains useful across all save files. For deeper character-level planning, including avatar options that pair with the clothing you craft, the outfits ideas breakdown covers full wardrobe concepts that work for both new and returning players.
Shogun's Reign Outfit Guide for New Players
The first ten hours of any new save file are the most important window for wardrobe planning, because early choices ripple into every later system. Players who rush into combat-focused clothing often regret it once they discover the merchant and courtier roles, while players who skip clothing entirely find themselves locked out of dialogue options they would otherwise enjoy.
The First Five Pieces You Should Aim For
Securing five shogun's reign clothes within the first 10 in-game days is the single most efficient customization milestone, because each starter-tier garment ties into a distinct dialogue tree the merchant, wanderer, and villager role checks reference directly. New players who skip this window typically end up grinding low-value vendors in Act 2 just to backfill the missing role unlocks.
-
Plain Cotton Inner Robe (default, but keep a clean version)
-
Straw Sandals (drop from traders, very common)
-
Fukuro Obi Sash (Sakura Port vendor)
-
Traveler Outer Robe (starter quest reward)
-
Wooden Hair Pin (chest drop in the capital tutorial)
With these five pieces, your avatar can already access the merchant, wanderer, and villager roles, which together cover about 60 percent of all available dialogue. According to community data shared in the official Discord, players who hit this milestone within the first 10 in-game days finish Act 1 noticeably faster, because they avoid repeated failed dialogue attempts.
Common Mistakes When Building a Wardrobe
New players tend to make three recurring mistakes: they sell early clothing pieces for quick coin, they ignore slot synergy, and they over-invest in cosmetic-only items. Selling an early piece is rarely worth it, because resale values are roughly 30 percent of vendor price, while replacement costs run 100 percent. Slot synergy matters because two pieces from the same family always outperform two random pieces. Cosmetic-only items look great, but they usually carry no functional tags, so they should be treated as long-term goals rather than early investments.
Role Synergy Beyond the Outfit
Clothing is one half of role identity, and lifestyle is the other half. The lifestyle you choose — wanderer, merchant, monk, samurai, daimyo, or artisan — determines your dialogue tree, your shop discounts, and even your housing options. For players planning around a specific lifestyle, the samurai career path is a strong complement to a samurai wardrobe, because the clothing tags align directly with the role's reputation requirements.
Advanced Customization Tips and Long-Term Goals
Once the early game wardrobe is stable, advanced customization opens up several long-term goals that keep the system interesting well into the late game. These goals include set completion, seasonal event pieces, and dyed variants that change dialogue flavor. Community data suggests that most players stop actively chasing new clothing around the 60-hour mark, so planning around that window helps avoid burnout.
Seasonal and Event Clothing
Seasonal events introduce limited-time clothing pieces, usually themed around real Edo-period festivals. These pieces are account-bound, meaning they never return once the event ends, which makes them a natural long-term collection target. Players who participate in three or more seasonal events report the most complete wardrobes, according to the community wiki.
| Season | Example Piece | Slot | Source |
|---|---|---|---|
| Spring Bloom | Sakura Hair Pin | Hair Accessory | Festival quest |
| Summer Fireworks | Indigo Yukata | Inner Robe | Vendor unlock |
| Autumn Harvest | Maple Obi Sash | Sash | Event drop |
| Winter Snow | Snow Cotton Tabi | Footwear | Crate reward |
Housing Ties and Storage Upgrades
A complete wardrobe eventually needs storage, and that is where housing ties into customization. Owning a home unlocks a wardrobe chest that holds up to 60 clothing pieces, which is more than enough for most players. The housing guide covers land claims, claim fees, and how to pick a home that sits near the vendors you visit most often. A well-placed home turns wardrobe maintenance from a chore into a quick daily loop.
Community Tracking and Shared Spreadsheets
Because the game does not publish every set bonus, most veteran players rely on shared community spreadsheets that track drop rates, vendor rotations, and confirmed set effects. Joining one of these projects early is a small but meaningful investment, because the data quality improves noticeably when more players contribute. The community consensus is that the customization system rewards patience and observation far more than grinding, which is a useful mindset to keep across the entire Shogun's Reign customization journey.
Frequently Asked Questions
What is the fastest way to get clothes in Shogun's Reign?
The fastest route combines vendor rotations and starter quest rewards. Visit the Sakura Port cloth merchant every 6 in-game days, finish the First Loom quest to unlock crafting, and check every elite chest in the capital tutorial. Most players assemble a five-piece starter kit within the first 10 in-game days.
Do clothing pieces affect gameplay in Shogun's Reign?
Yes. Clothing carries stat tags like Honor, Reputation, and Quiet Step, which influence dialogue branches, shop prices, and bounty timers. Full set bonuses are even stronger, and a complete merchant set can drop shop prices by roughly 12 percent, according to community testing.
Can I switch roles by changing my outfits?
Yes, the game reads your visible clothing when calculating role eligibility. Switching into a full samurai kit raises your reputation with the daimyo and unlocks samurai-specific dialogue, while switching into a stealth kit opens thief-aligned branches. Wardrobe planning is therefore a form of role planning, which is the core idea behind the Shogun's Reign customization guide approach.
Where do I find rare ceremonial pieces?
Rare ceremonial pieces drop from shrine basements, ridge elite chests, and seasonal event crates. The night vendor in the Yume District also stocks one ceremonial piece per rotation, but stock is limited and refreshes every 48 in-game hours, so checking in regularly is the most reliable strategy.
Is crafting cheaper than buying clothes?
Crafting is cheaper once you have the pattern, because material costs usually run 40 to 60 percent of vendor prices. Patterns cost between 300 and 900 coins depending on the slot, so the break-even point arrives after crafting two or three pieces. For high-end pieces, crafting is the only realistic path, because some rare items never appear in vendor rotations.